Last semester, I fell in love with digital fabrication. Most of the projects I did revolved around subtracting material (CNC router, laser cutter, lathe, etc.). This semester, I’m stoked to learn about techniques involving more, I guess, addition, which at ITP revolves primarily around 3D printing.
I don’t know too much about 3D just yet, but when I explain it to my mom, I make sure she knows that:
- I’m not printing holograms
- The printer doesn’t look like the one we have at home
- The material that’s being printed on is not paper.
So, what is 3D printing? And why do we even need it? Imagine taking a glue gun and drawing a square with the hot glue. Now imagine creating a new square, a new layer, over the first one. And so forth. The more squares you make, the more height you will create — and that pretty much sums up how 3D printing is done.
What’s it good for? So many things. Ever need an extra button for a shirt? Or a lid for a container? How about making custom-made jewellery? Or a stopper for your door? Or a clip for your earphones? The possibilities are really endless for this ground-breaking technology.
Before printing though, the object that’s going to be printed need to be designed. The software we will be using is called Rhino. I personally wish it would be more similar and intuitive like Adobe software, but since I’m still learning I’ll give it a chance.
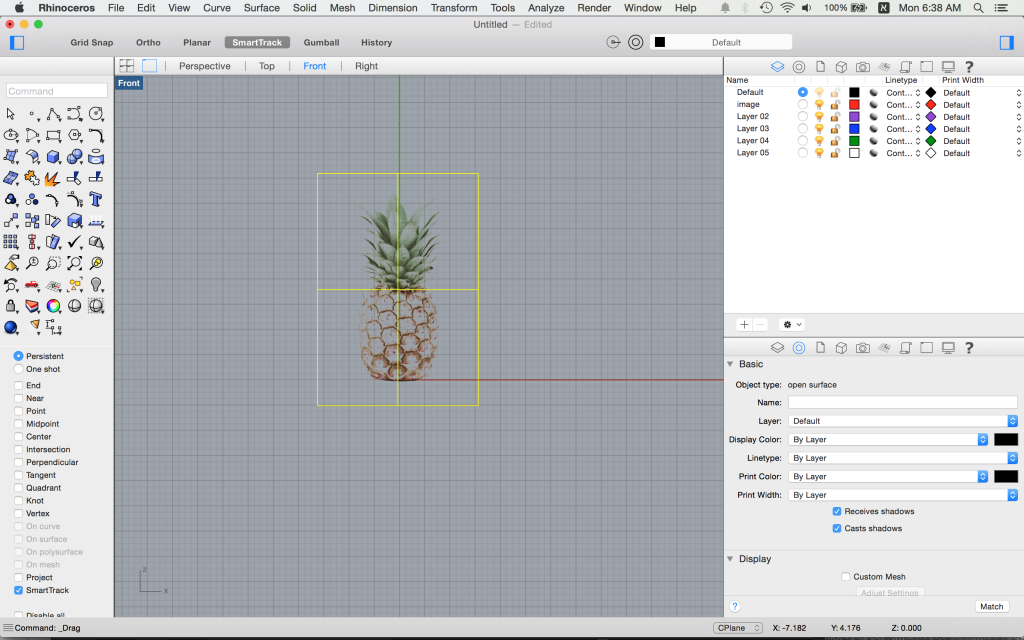
For my first attempt at 3D printing, I’m going to make a tiny pineapple. I started by importing an image of a pineapple to the canvas:
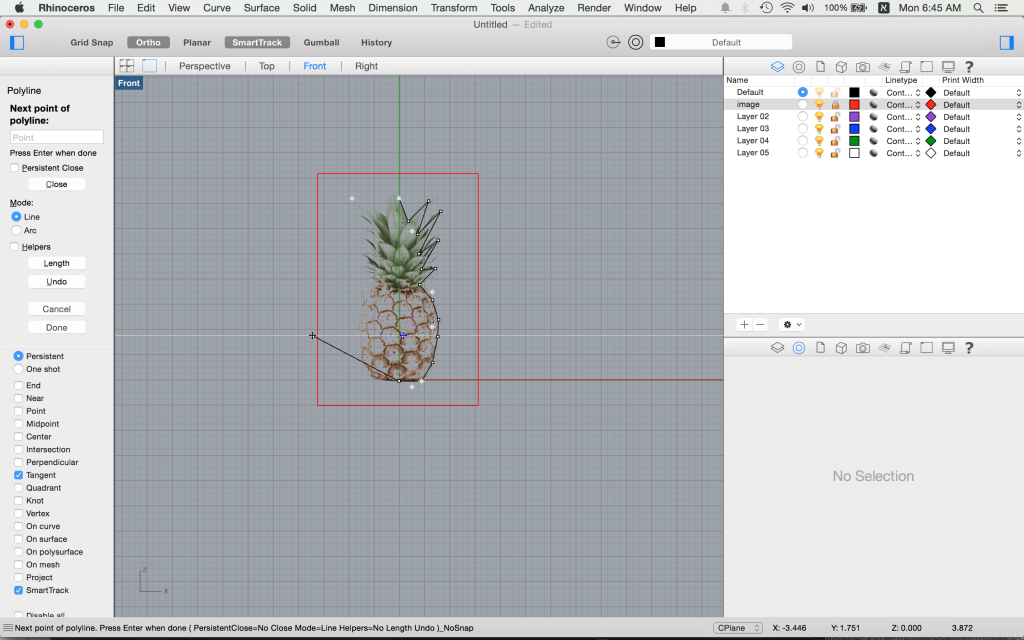
Then, in a different layer, I traced the roughly traced the profile of the image:
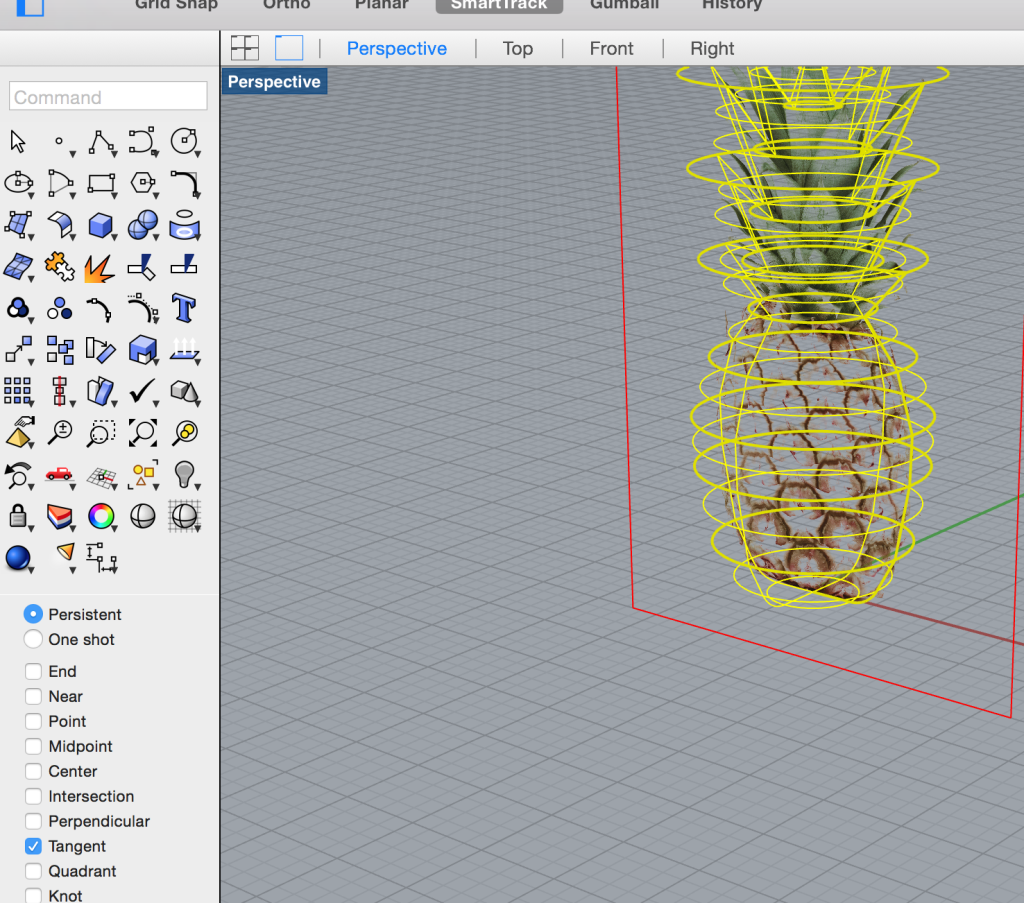
Once I had the profile, I used a fun-function called “revolve”. You can think of revolve as kind of the 3D version of “rotate”. This function can revolve and profile around an axis you define. I created the axis down the center of the pineapple, and surely enough, it looks like I have created my first 3D model. 🙂


